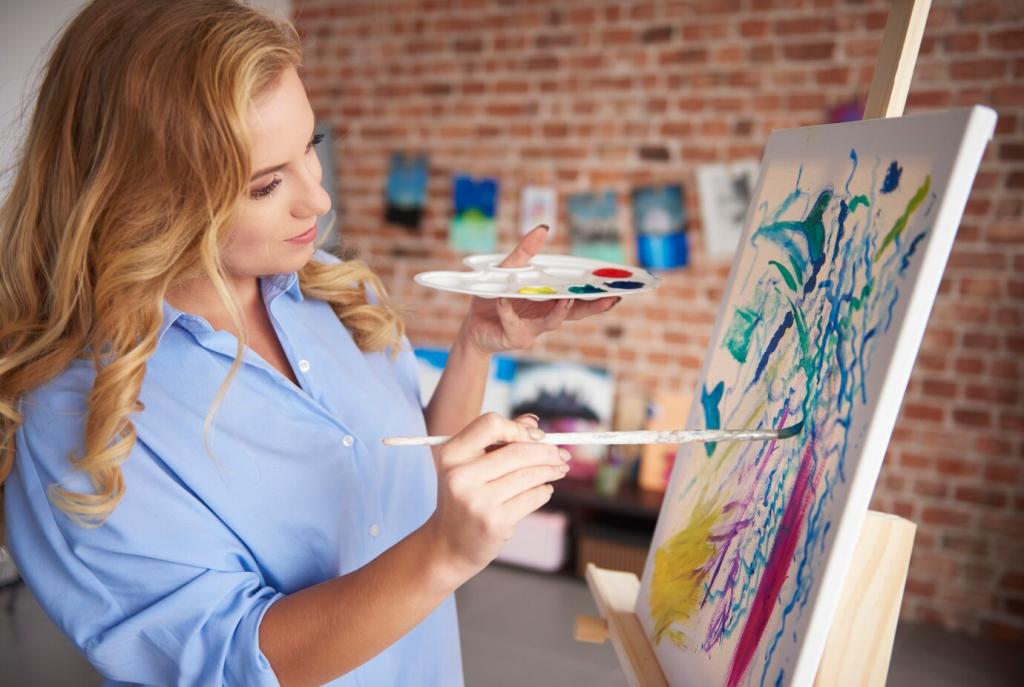
How to Draw Realistic Portraits: See, Shape, and Bring Faces to Life
Chosen theme: How to Draw Realistic Portraits. Welcome to a space where careful observation meets fearless mark-making. Whether you are sketching your first head or refining subtle expressions, we will guide you with practical steps, heartfelt stories, and exercises that build confidence. Share your progress, ask questions, and subscribe for fresh insights that turn faces on paper into people who feel present.
Seeing Like an Artist: Proportions and Landmarks
Treat the head like an egg with clear planes, not a flat outline. Blocking the forehead, cheekbones, and jaw into simple facets simplifies complex curves. A desk lamp on a white egg can teach you more about form than hours of guesswork. Try three quick studies from different angles and tell us which tilt felt the most natural.
Seeing Like an Artist: Proportions and Landmarks
Mark reliable landmarks early: brow ridge, zygomatic arch, tragus, the angle of the mandible, and the corner of the mouth relative to the pupils. Dot them lightly, then connect with confident, simple rhythms. Use a pencil as a measuring tool at arm’s length to compare distances. Share a photo of your landmark map to get feedback on accuracy.
Light, Shadow, and Form in Realistic Portraiture
Start with five clear groups: highlight, light, halftone, core shadow, and cast shadow. Keep highlights clean and reserve your darkest darks for cast shadows and accents. Grouping values simplifies decisions and strengthens form. Make a quick value scale beside your drawing to check consistency, and tell us whether your shadows read as one family.
Light, Shadow, and Form in Realistic Portraiture
One window, one sun, one lamp: single sources make learning easier. Notice where the cast shadow falls from the nose and how the cheek transitions into core shadow. That little triangle of light beneath the eye can signal classic Rembrandt lighting. Sketch a friend under a single lamp and share how the shadow pattern clarified facial structure.
Eyes, Nose, and Lips: Features that Feel Alive
01
Eyes Are Spheres
Draw the eyelids wrapping around a sphere; there is thickness to the lids and a wet edge near the tear duct. The iris sits on a curved cornea, so the highlight may float slightly off center. Avoid outlining the white of the eye; it belongs to the light family with soft halftones. Try three eye studies and share which edge was trickiest.
02
Nose: Planes and Transparency
Think of the nose as stacked forms: bridge planes, ball of the nose, and two alar cartilages. Indicate nostrils with soft, directional shadows, not heavy outlines. The underside often holds the darkest accents, while a subtle reflected light lifts the base. Sketch noses from profile and three-quarter, then comment on how plane changes shaped your shading.
03
Mouth: Ribbon of Forms
The lips are a twisting ribbon over a cylinder, with the philtrum and corners adding complex transitions. Keep the center crease soft and the corners slightly darker but not punched in. A thin highlight tracks the moist lower lip. Do a grayscale study focusing on the upper lip’s turning edge and tell us how your value control affected realism.
Skin Textures and Tones Without Overworking
Pores and freckles sit within value groups; suggest them with varied pressure, directional hatching, and soft eraser lifts. Scatter detail where the eye should linger and keep quieter areas simplified. Over-description can age or flatten a face. Try a one-inch square skin study using only hatch and kneaded eraser, and post your discoveries.
Skin Textures and Tones Without Overworking
Graphite can shine; charcoal feels matte. Mix intentionally or commit to one. A tissue can unify halftones, while a kneaded eraser can pull subtle pores. Keep shadows unified and avoid spotty contrast. Create three small swatches testing tools and note which combo gave you both clean transitions and believable texture. Share your favorite setup.
From Reference to Likeness: Capturing Personality
Use plumb lines and triangulation to compare brow-to-nose, nose-to-chin, and eye-to-ear relationships. Build an envelope around the head to protect proportions. Check negative shapes between profile and background. Flip your drawing in a mirror to catch drift. Post your measurement notes and we will help you refine where relationships slipped.
Bristol smooth favors tight rendering; newsprint encourages loose studies. Start light with 2H or HB, develop halftones with B grades, and reserve 4B to 8B for accents. Keep a kneaded eraser, blending stump, and a clean tissue nearby. Photograph your toolkit and share what you reach for most during a portrait session.
Try this flow: gesture and envelope, landmark mapping, big simple shadow shape, five-value grouping, edge control, then restrained detail. Step back every ten minutes and squint to judge value unity. Set a timer to protect each phase. Save these steps, test them on a quick study, and tell us where your rhythm stumbled.
Perfect symmetry is a myth; chasing it erases character. Tilted heads mean one eye truly sits higher in perspective. Use plumb lines, check alignments to the ear, and flip your drawing to reset your eye. Post a work in progress and circle one asymmetry you will commit to keeping.
Protect your page with a clean sheet under your hand, unify shadows sparingly, and leave some paper grain breathing. Overblending muddies planes and kills energy. Tap, do not rub, with a stump. Lift with a kneaded eraser for sparkle. Share a before-and-after where you rescued texture and describe what tools helped most.
One late night, a quick fifteen-minute café sketch of a weary barista became a favorite portrait because it captured mood, not pores. Progress often hides inside imperfect studies. Keep going, share your story in the comments, and subscribe so we can cheer your next breakthrough together.